The Prototype - DIY Living Green Wall
November 13, 2016
This post is part of the series on DIY Living Green Wall:
When it comes to improving your house or health, spending a little green on greens can go a long way. It’s not just about improving your indoor aesthetics. Even if you don’t notice a plant’s presence, seeing a plant can subconsciously make you feel calm and relaxed.
A lot of research has gone into the benefits of plants on human health. Studies showed mixed results about the benefits. Some of these include:
- Boosting your mood
- Enhancing concentration and memory, hence productivity
- Providing cleaner air
- Lowering chance of illness
I’ve always wanted my apartment to be ‘green’ yet elegant. While searching for ideas I found ‘Green Walls’ but thought it would be too expensive and too time-consuming to maintain. Sometime later, during romantic weekend in a fancy hotel, I saw it live and was immediately bought by the idea of having my own little jungle at home.
TThis post describes creation process of the prototype, it doesn’t cover irrigation system nor types of plants - just proves that concept could work and be visually pleasing.
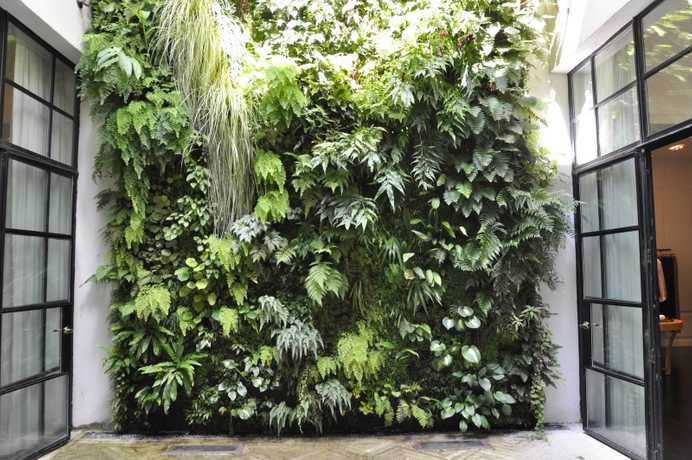
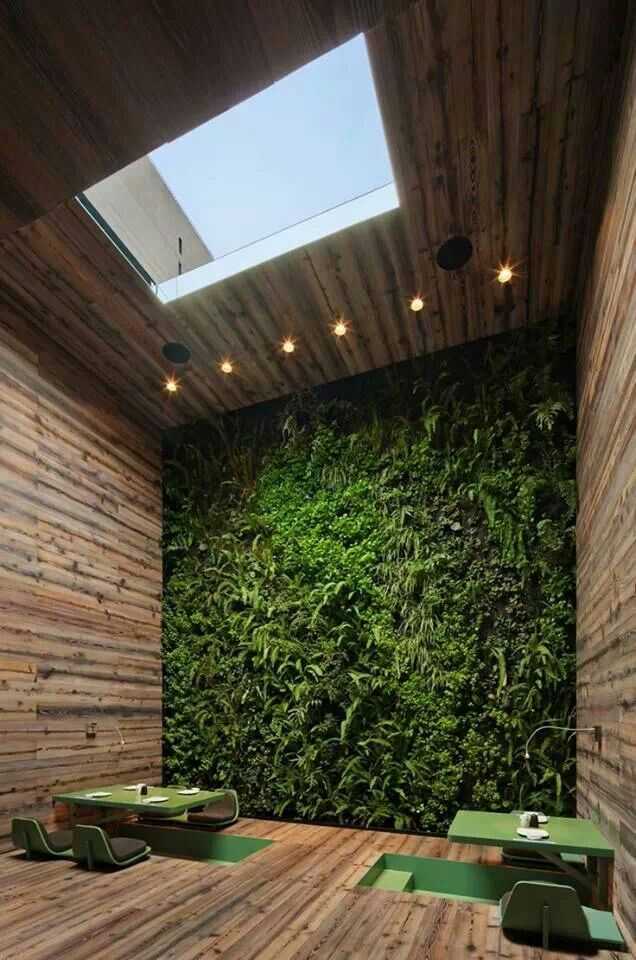
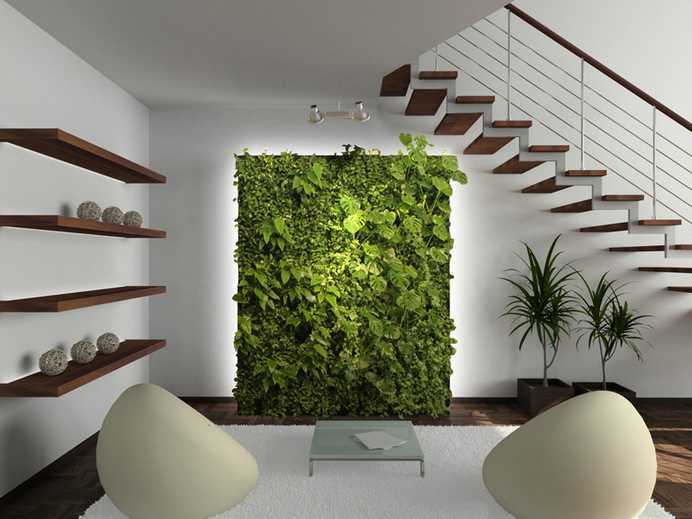
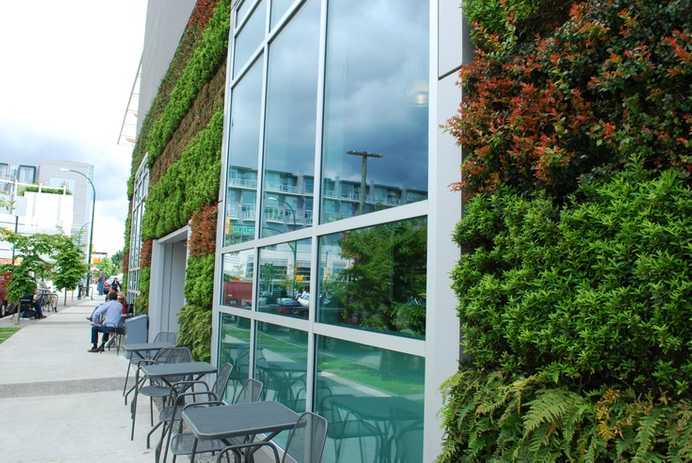
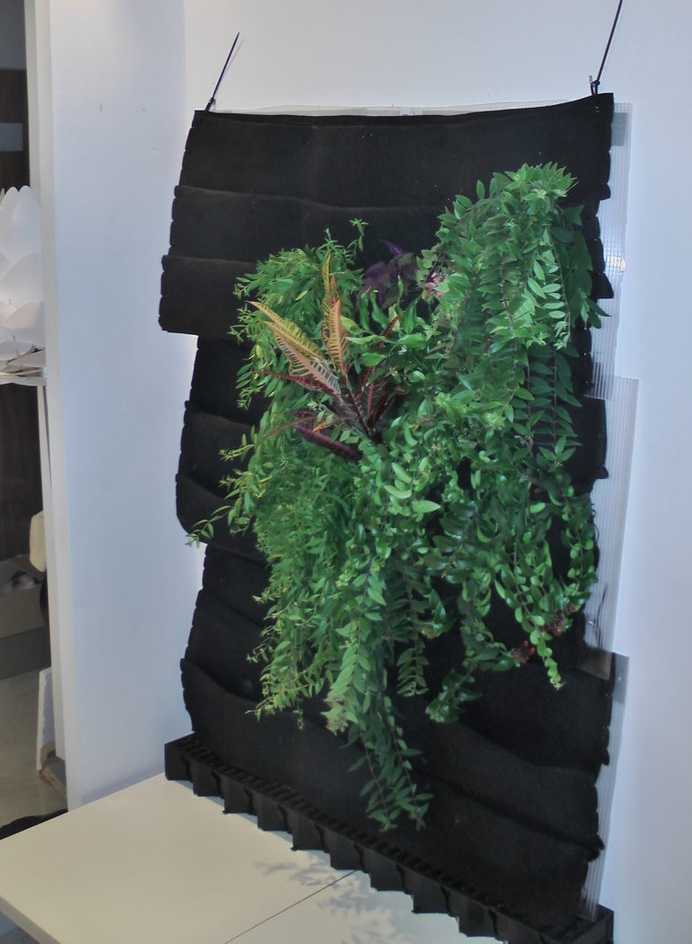
Here, let’s take a look what I’m aiming to achieve.
Actually process described here was my second attempt . During my first one I tried to sew all the pouches by hand but I quckly realized that without heavy duty sewing machine it is extremely hard to sew pieces of the thick felt by hand. Guess what… easiest solution proved to be the best.
Bill of material
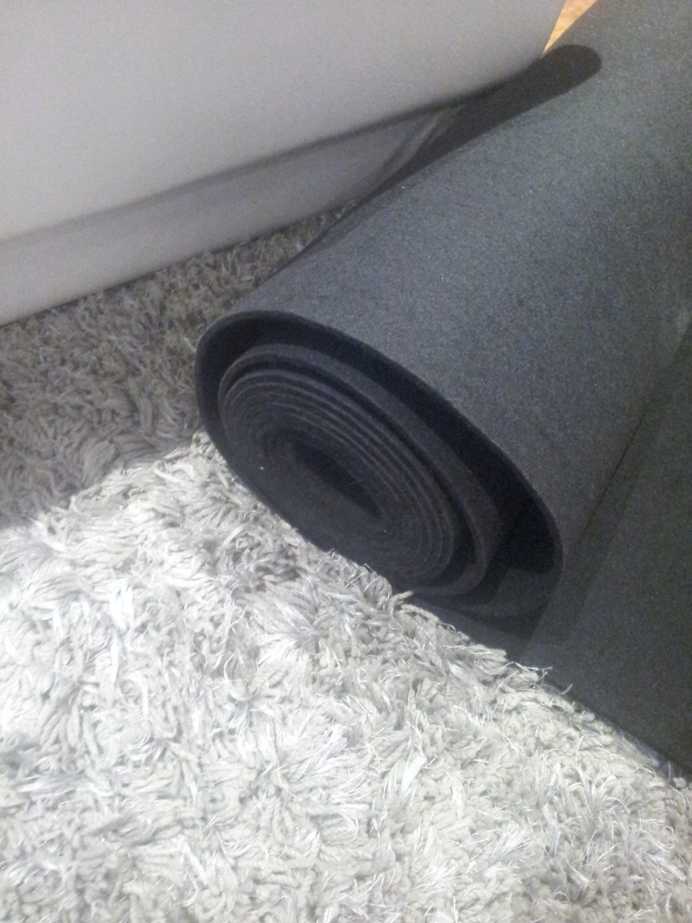
- Roll of artificial felt (45cm height per pouch/0,5cm thick)
- Hollow polycarbonate plate (0,5cm thick)
- Drainage trough (length should be same/or higher as width of the green wall)
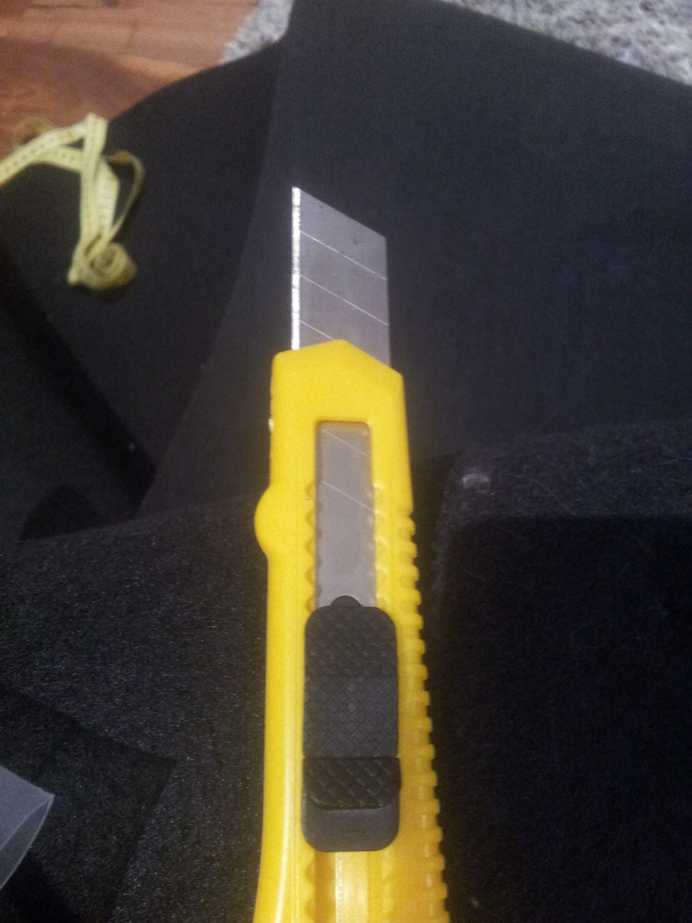
- Thin carton cutter knife
- Cable Ties Straps (small) - to form the pouch
- Cable Ties Straps (large) - used to hang pouches on the wall
- Silver/Grey tape
- 2-parts resin glue (or better)
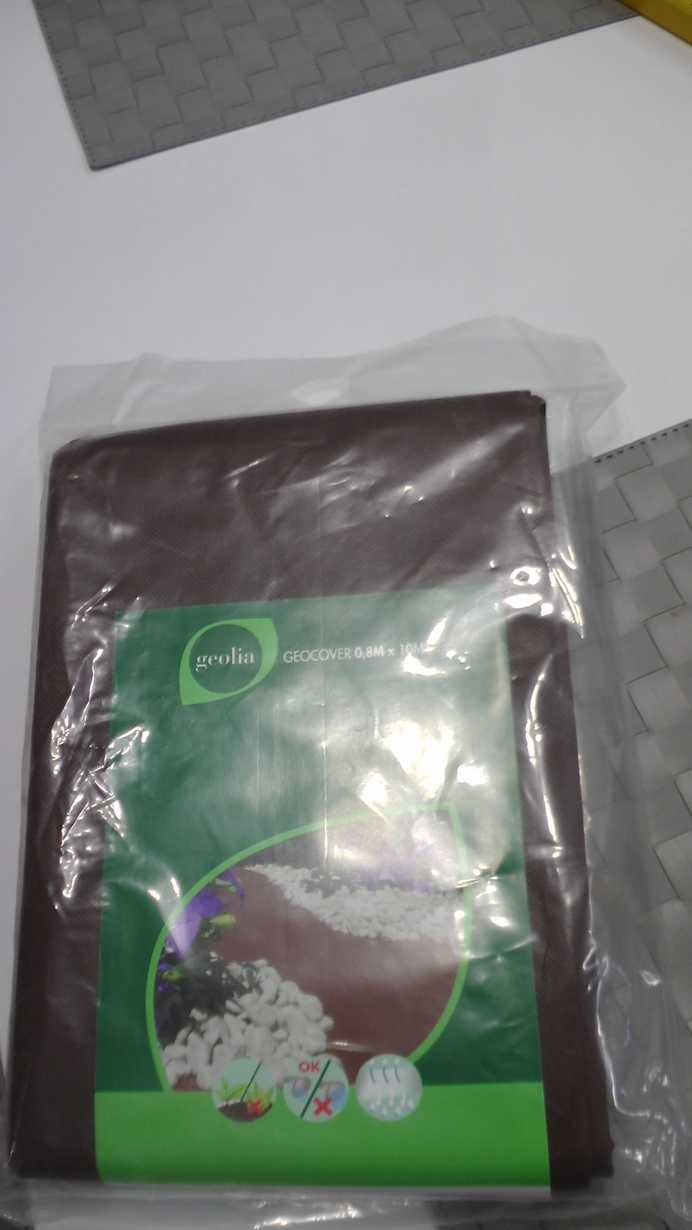
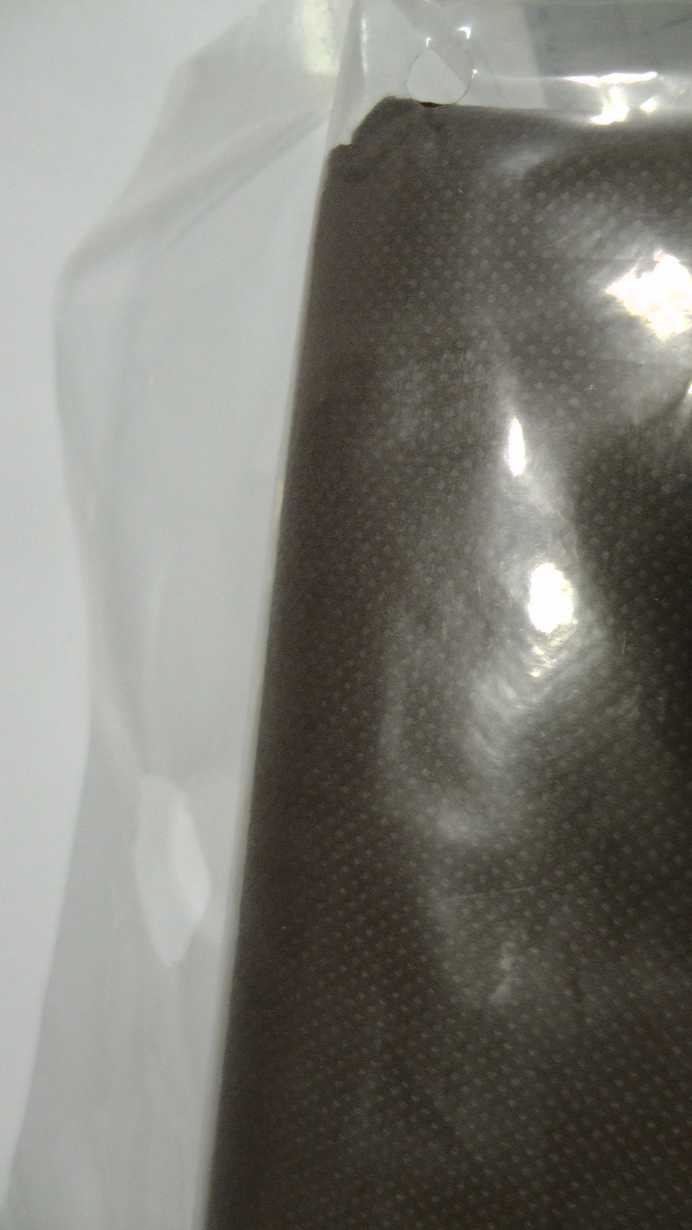
- Root Wraps thin felt or landscape fabric (recommended) 50cm x 50cm
Felt needs to be artificial one as it won’t deteriorate/rot and will serve you longer.
The Green Wall
The width of the felt roll was ideal for my needs as I wanted to cover just 1,5 meter/12 feet wide stripe of the wall. You might need to cut yours to expected width.
To calculate the length of felt you need to measure your wall’s height. One row of pockets is about 15cm high and you need about 45cm of felt to create it. Folded felt pouches are simple to assemble and extremely durable.
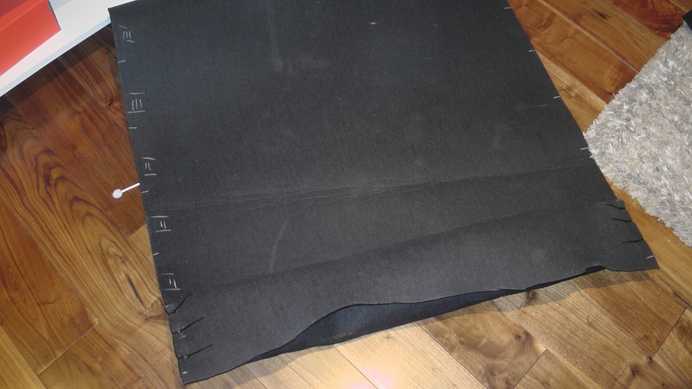
First you need to roll felt on the floor and put a mark on it every 15cm. Every three 15cm sections form one pouch. In my case I decided to make one pouch 50cm width, so that was 3 pouches in row. I marked edges of inner pouch as well.
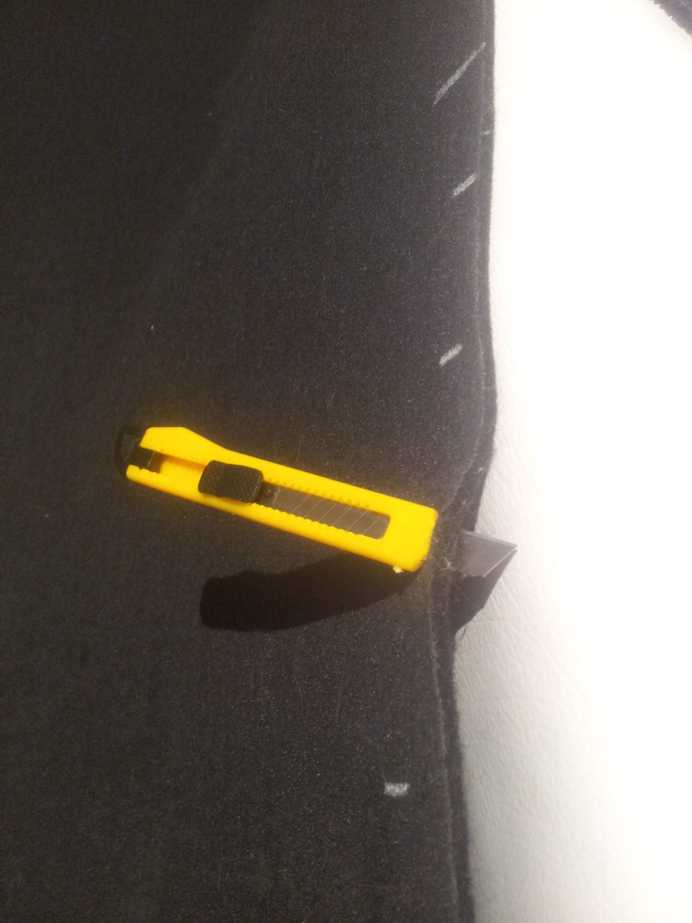
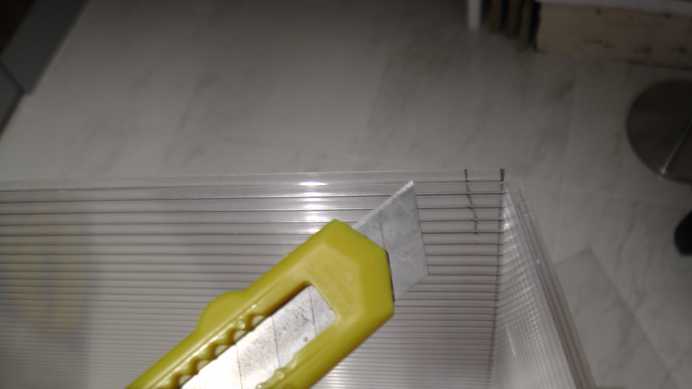
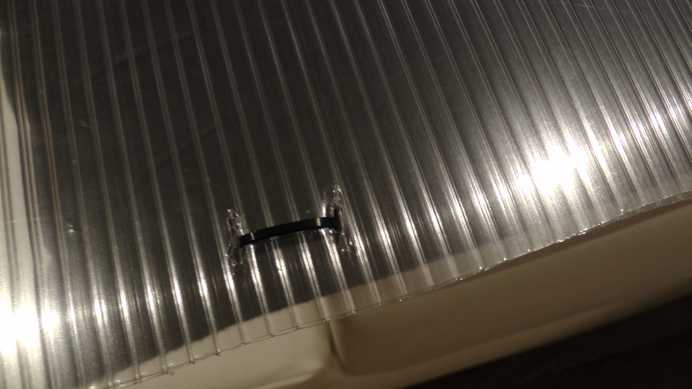
Next you just simply fold felt as pictured below. Inner wall of pouch is one layer of felt. Outer wall of the pouch is double folded. Start with the one of the edges and pierce a whole using the carton cutter knife and then draw the plastic strap out and tighten it a bit. Next go to the other edge and do the same. You will need just two straps for inner pouch edges. If you feel it doesn’t hold strongly enough just add more straps.
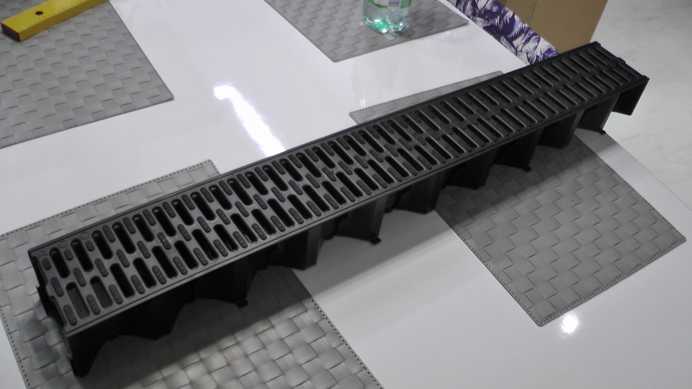
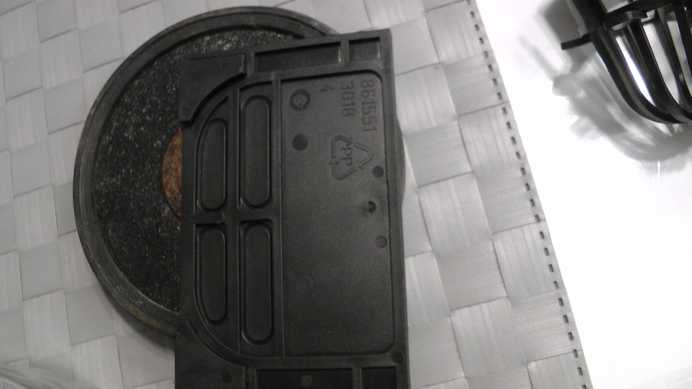
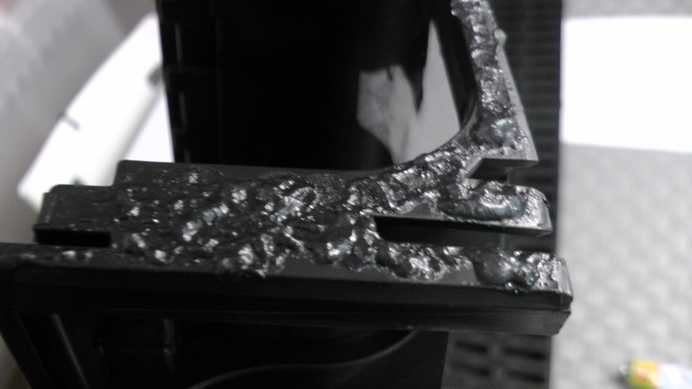
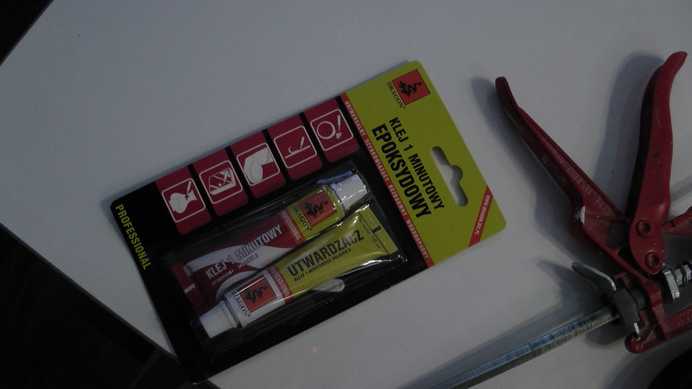
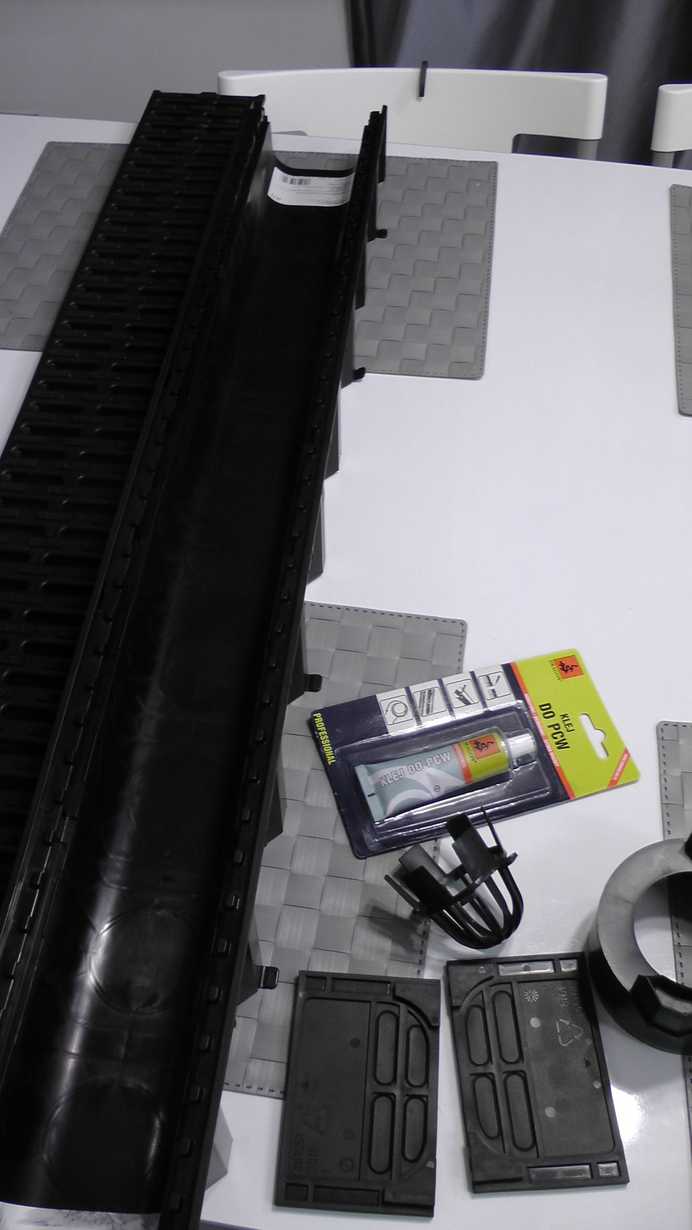
Your green wall will be irrigated regularly so you will need some type of water container. I wanted it to be out of sight and easy to clean. I decided to use popular floor drain used in driveways. It has easily removable cover. You can buy one at your local home depot.Don’t forget to ask for two end caps. You want it to be closed tank so you have to attach caps on both ends of the drain. Ask in the home depot for the best glue for the job. It will hold water so make sure it’s water resistant and there is enough of glue to cover all the contact points. I used two-parts resin glue.
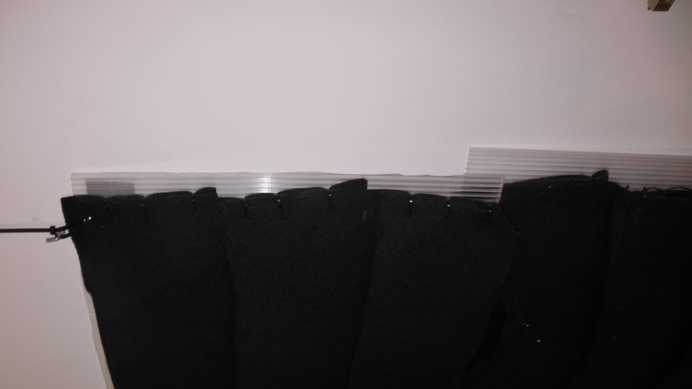
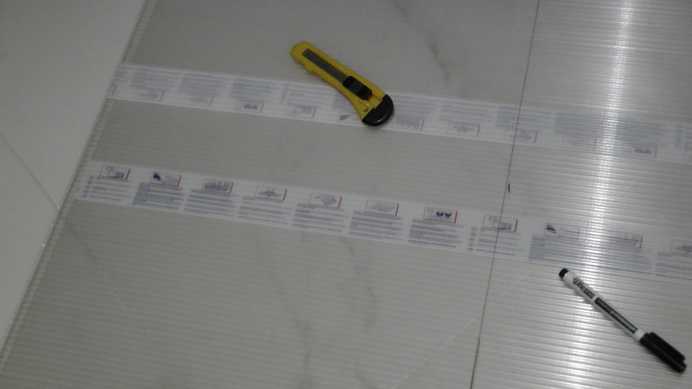
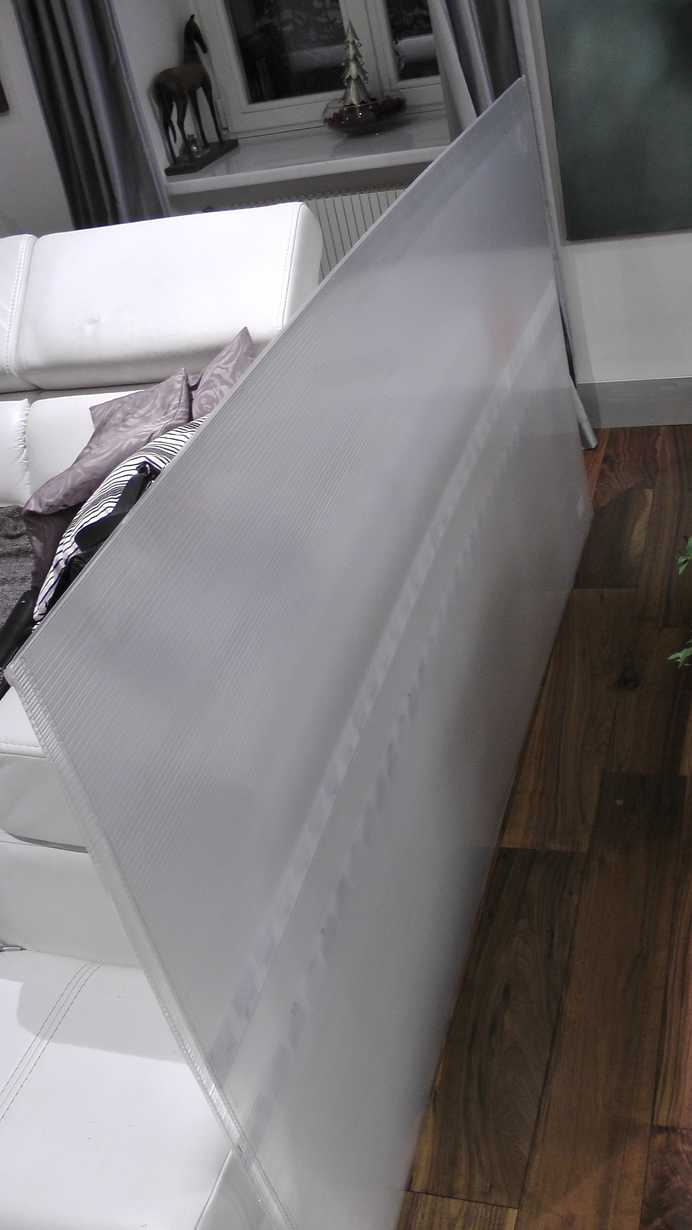
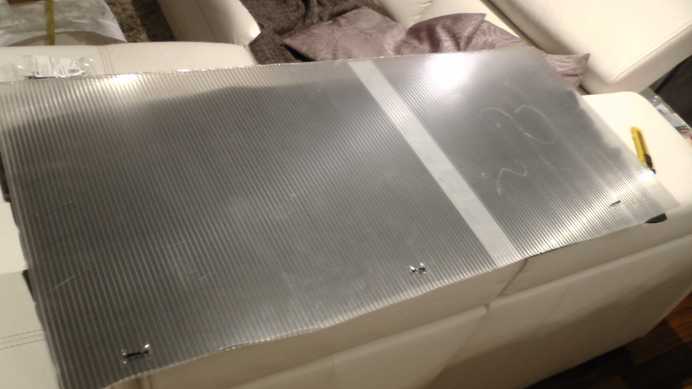
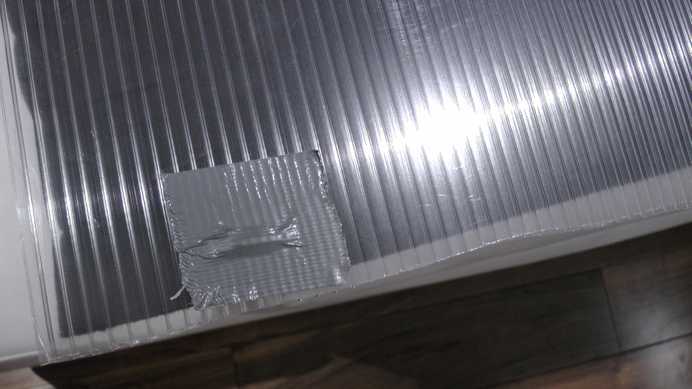
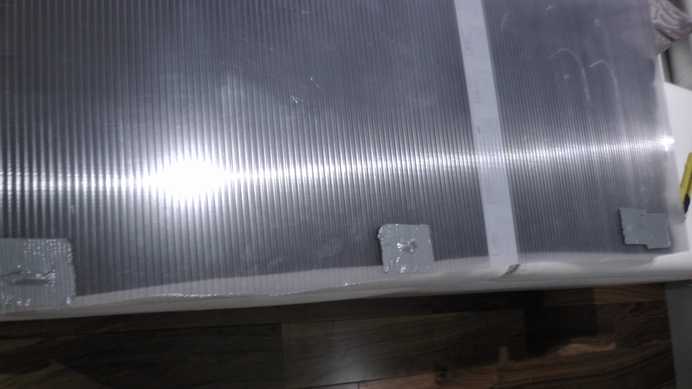
To protect your wall from water attach your pouches to hollow polycarbonate plate with straps. Water-proof it with a silver tape from the back side of hollow plate.
I used hook dowels to attach my green wall pouches to the wall (again ask at the store for the best ones for the job). Use strong ones as when felt and ground absorb water it becomes really heavy make sure it can hold at least 15kg.
Use large straps to attach pouches to the hooks. Strap should catch enough felt so it want tear when pouch becomes heavy. Don’t attach them to the wall through polycarbonate plate as strap will easily tear through it.
As you can see the process is easy, straightforward and reward is well worth it!
Root Wraps
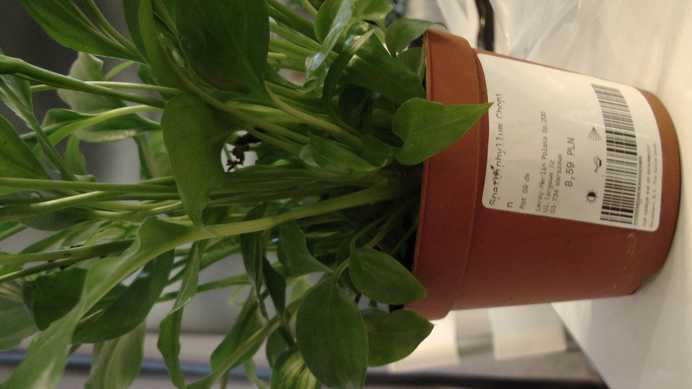
When you take out your plant from a flowerpot use scissors to cut out excess outer part of the root system. This will reduce weight and needed space in the pouch.
Fold wraps neatly around root system and avoid soiling the pouches. Put your plants into the pouches and make sure they won’t fall out.
Here is a great video explaining the process:
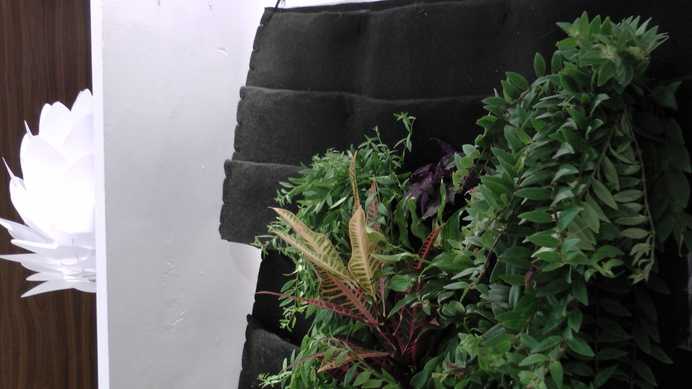
Here comes the Green Wall Prototype!
After building this low cost prototype I decided to explore further. As watering this wall appeared to be tedious work I decided to automate the process.
